"/>
"/> "/>
"/>Improving the production with open source II tools
In this new open source tools we use in BCN3D Technologies to improve production we bring you a testbed for hotends.
For those who still do not know, the hotend is the element that is responsible for melting the plastic filament and deposit through a 0.4mm nozzle. It consists of the following parts:
 |
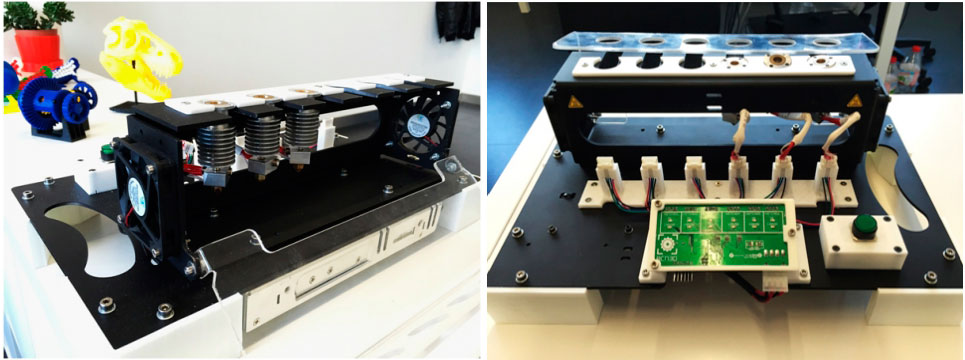
In order to verify both the design and the correct operation, we designed the Hotend Test Bench, a tool that is manufactured using digital manufacturing technologies such as laser cutting and 3D printing. |
The Hotend Test Bench is basically an electronic board with specific media to verify June hotends simultaneously, all packed into a bed for easy handling and transport.
What is verified?
What has been automated in this test is checking the electrical/electronic elements, that meaning, the resistance or heating element and the thermistor or temperature sensor.
The power of the resistors is 40W at 24V, so the resistance value should be 14.4 Ohms nominal value. Two effects can be observed if the actual value deviates from the nominal resistance. If the resistance is very low, the current flow increases (Ohm’s Law) and this will dissipate more power can potentially damage any component. On the other hand, if the resistance is too high, the power dissipated will be insufficient to reach operating temperature triggering printing problems.
To verify this component we have chosen to perform a cycle of heating to a target temperature and calculate the time it takes to achieve it, always comparing it to a standard time considered correct.
With respect to the thermistor, this must have a resistance of 100K Ohms at 25 degrees. A thermistor is simply a variable resistance with temperature. Using a simple voltage divider circuit, the analog-digital converter of the microcontroller is able to read and interpret this value. To check the thermistor simply read its value at room temperature and check it to be within tolerances.
The Hotend Test Bench
In Hotend Bench test it consists of the circuit board and mechanical parts.
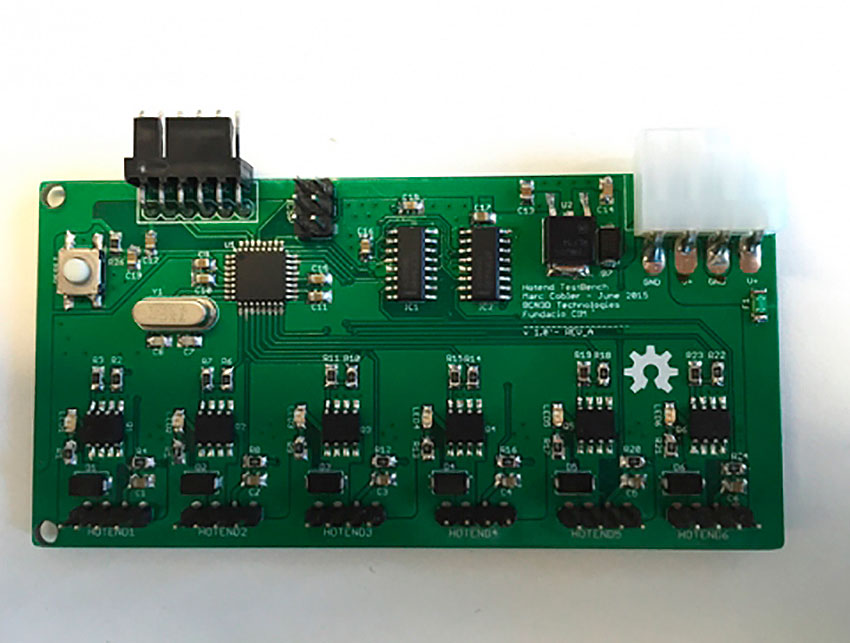
The electronics are a double layer plate 10×5 cm that contains the following elements:
-
- ATmega328 microcontroller. Compatible with Arduino.
- 6 channels of power. One for each Hotend.
- 12 LED status indicators for each hotend. The LEDs are controlled via shift registers with three microcontroller pins.
The entire assembly is powered by a power supply of 24V / 320W. Here you can see the plate in front and behind.
Here you can see the plate in front and behind.
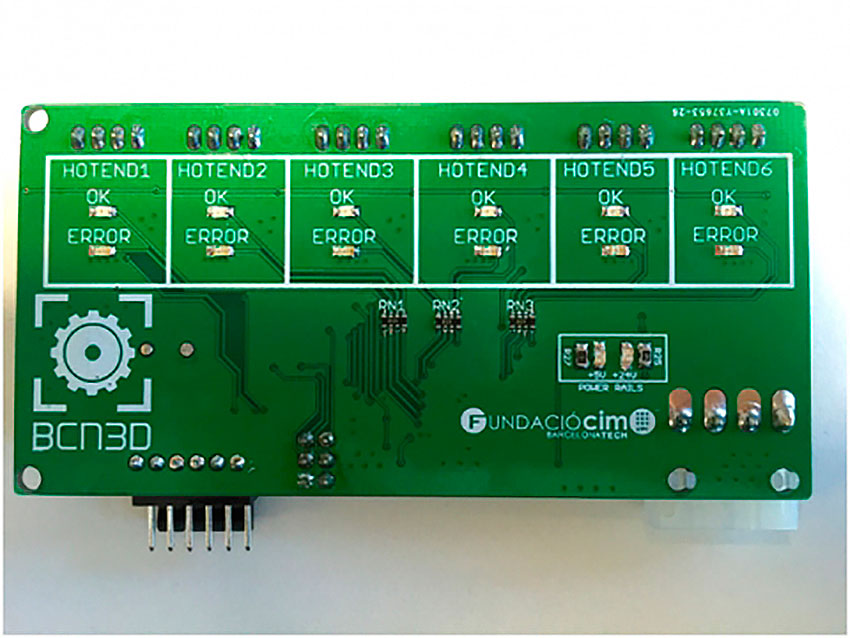
The LEDs on the front indicate whether the hotend is heating, if the check is correct or incorrect and if the temperature is low enough to manipulate.
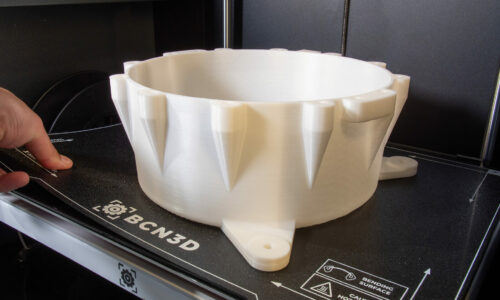
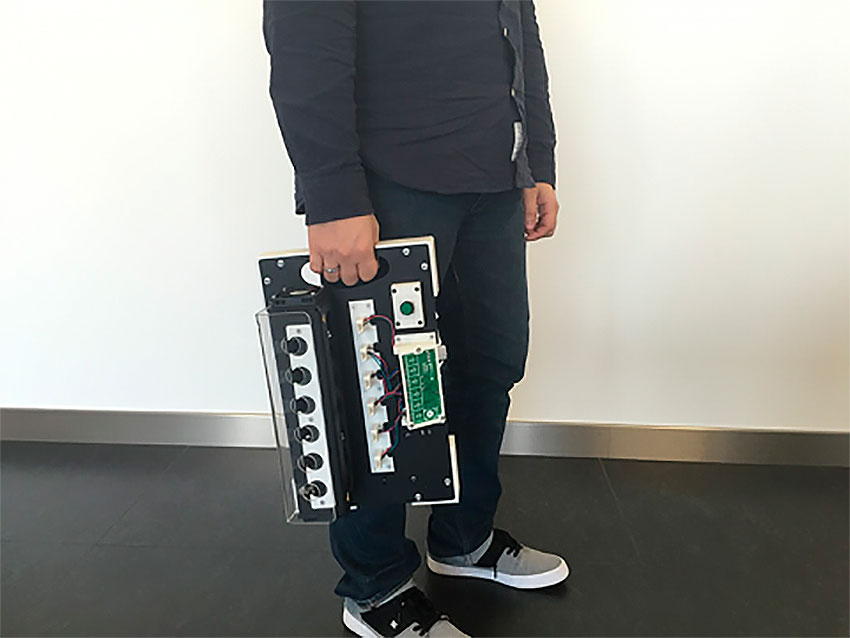
The mechanical part could separate the sheet and printed pieces. Veneers are 3 mm aluminum and painted with matt black paint. The remaining parts are white PLA. 3D printing has enabled us to design supports for air hotends connectors and a dedicated electronic board support.

As you can see in the picture, they are arranged hotends back on the dedicated support and dangling into the receptacle contacts and avoid possible unintended burns.
Once the check cycle is completed, a button allows you to switch sides and accelerate cooling fans for another cycle in the shortest time possible.
Viewing the data on the computer
One of the problems we found while designing this tool was that we had no way to graphically display the temperatures the microcontroller was reading. Of course, we were able to see the evolution of temperatures through the serial port but it was not quite a visual way.
For this reason, we decided to make a mini Processing application that opens this serial port and graphs the temperatures in real-time.
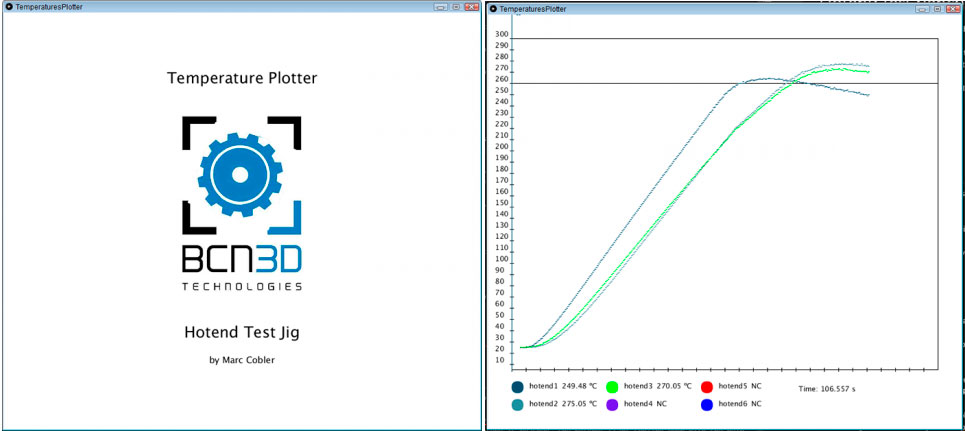
The operation of the app is fairly simple. The microcontroller sends every 0.5 seconds a table with the hotends temperatures in degrees Celsius and the program maps them to the graphic area. Each point represents a temperature that joins to the next one by a straight line, that way we obtain a continuous graph.
In the last picture, you can see a test with only 3 hotends connected. One can easily appreciate how each hotend has a different dynamic response. This may come caused by the heated cartridge tolerance and the dispersion thermistor readings.
Conclusions
The hotend is a key element in our 3D printers and for that reason, we need to check that falls in within our standards. The design of this tool is published in the Hotend-Test-Bench Github repository under the MIT license. At the end of the repository you’ll find a list of things to improve, so if you know some Processing, help out!
If you have any questions or suggestions contact us! remember that you can find all the files in this project and many more in our Github