"/>
"/> "/>
"/>BCN3D Slicing Guide 3: Wrap your head around wall thickness
Number three of the BCN3DxFlowalistik slicing guide series has arrived, to help get you a foothold up on wall thickness. Once you have your part’s purpose in mind, adjust the wall thickness on your BCN3D Cura to obtain the perfect mechanical properties and surface finish.
A great 3D printing experience requires more than just making great hardware. At BCN3D we’ve developed BCN3D Cura, an advanced slicing software that allows you to make the best out of the BCN3D printer and material family.
If you want to 3D print stronger parts or start post-processing your models, the Wall Thickness setting is what you’re looking for. In this post, I’ll show you everything you need to know about Wall Thickness and how make the best out of it.
What is Wall Thickness?
The Wall Thickness setting represents the thickness of your model’s walls in the horizontal direction. The Wall Thickness divided by the Wall Line Width defines the number of walls.
The Wall Thickness is used in combination with the Top/Bottom Thickness, which allows you to control the thickness of the wall in the vertical direction.
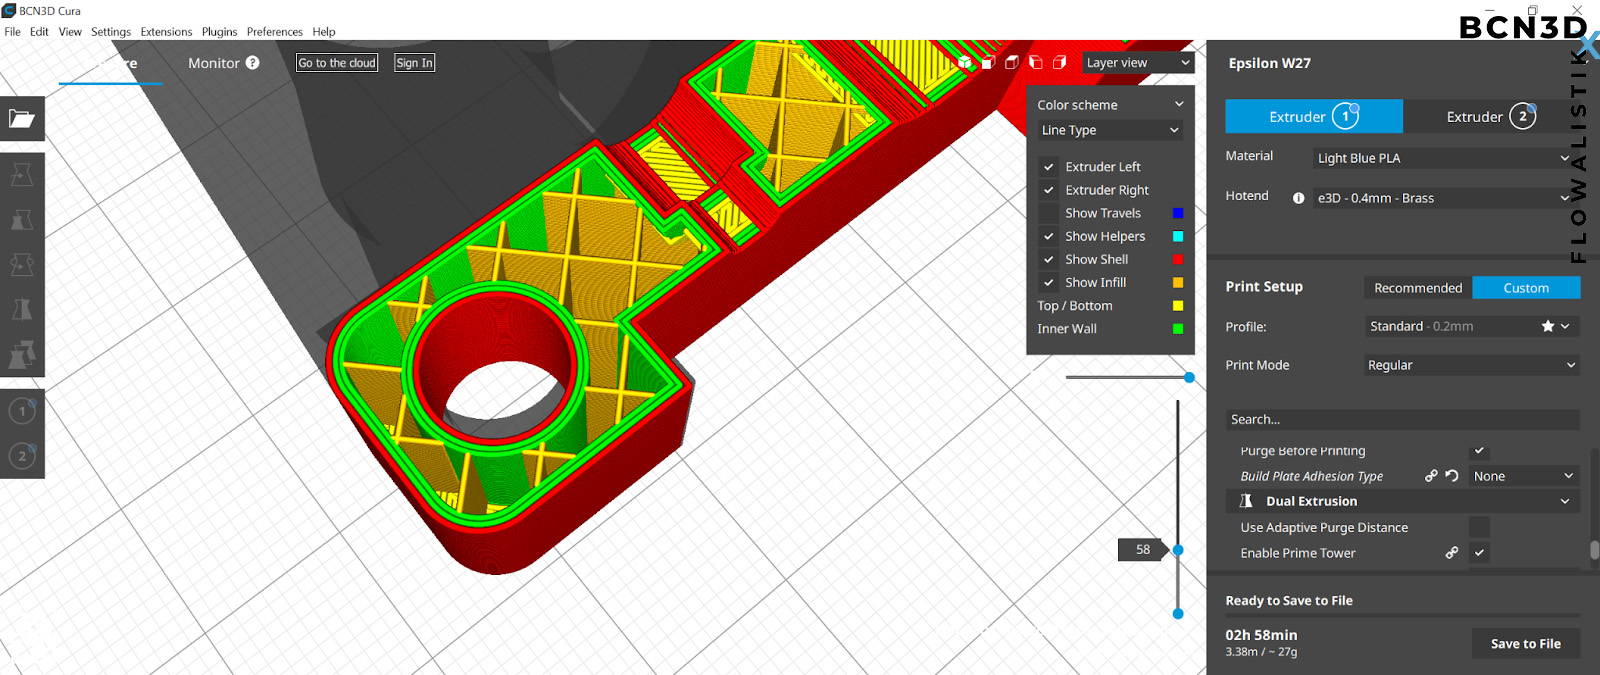
In the image below, you can see the difference between Wall Thickness, Top/Bottom Thickness, and Infill.
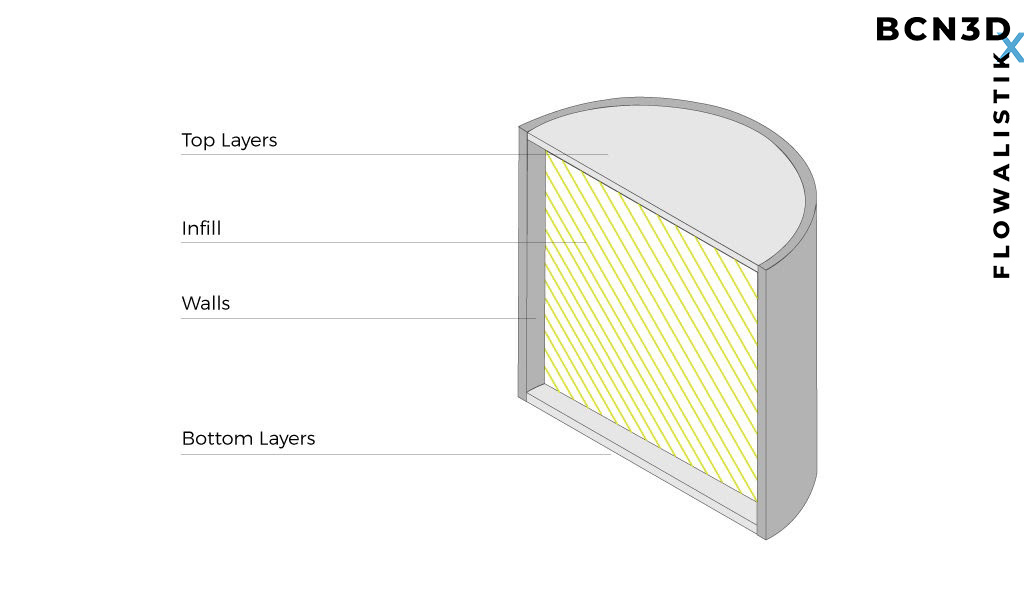
Notice that the vertical walls of your model are usually divided into two categories:
- Outer Wall: The outermost wall line.
- Inner Walls: All walls except for the Outer Wall.
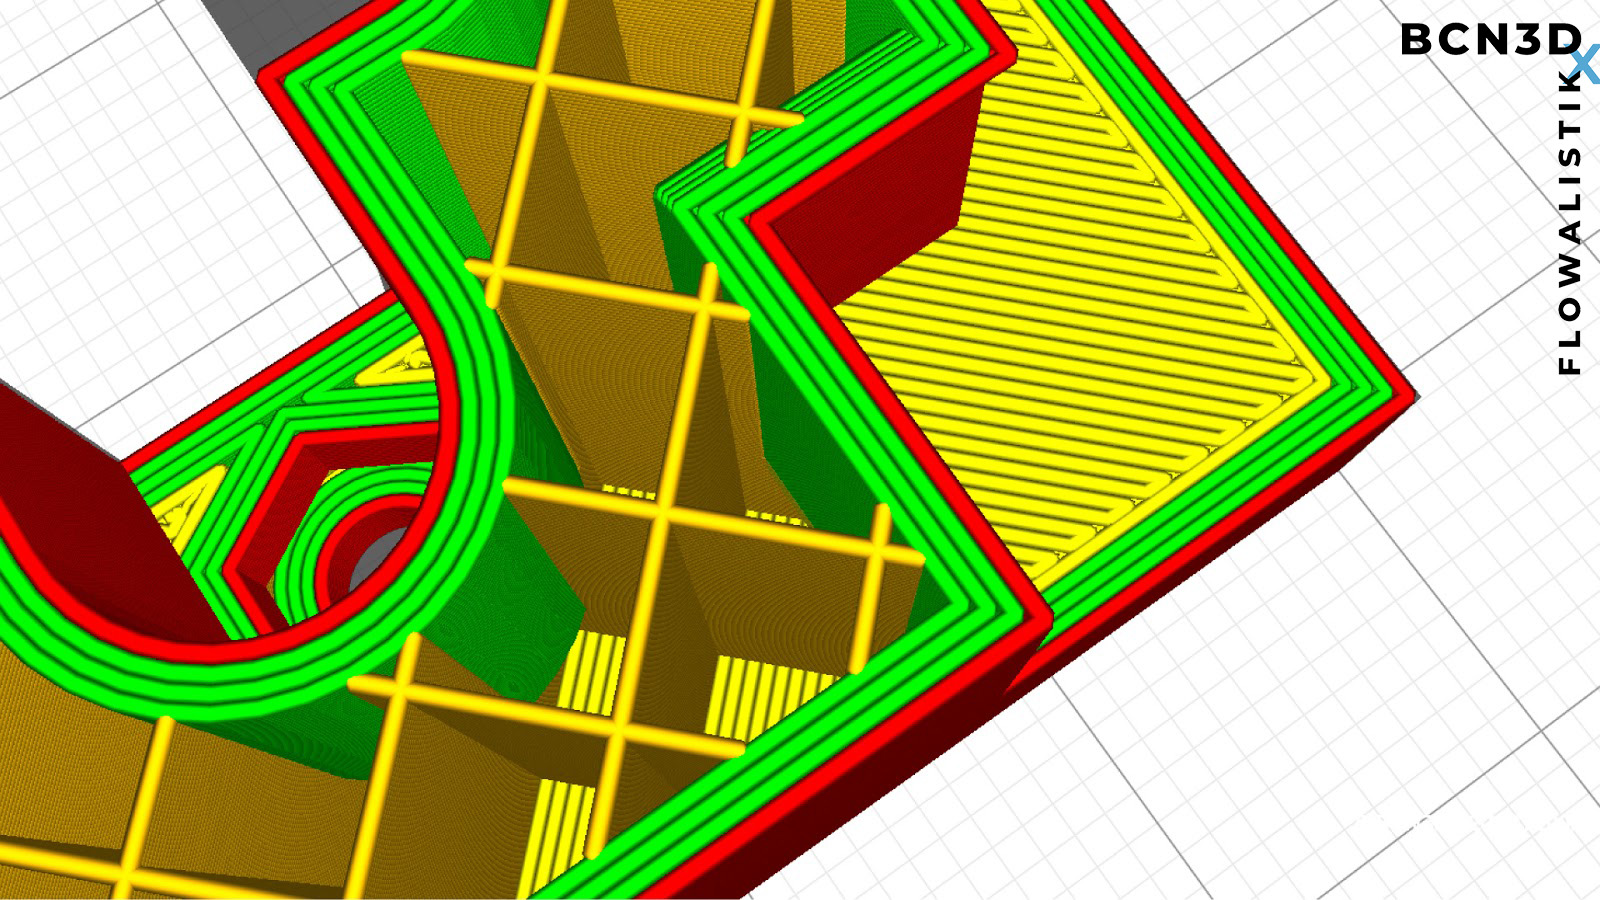
The reason behind this difference is that you may want to print the Outer Wall at a lower speed to increase the surface finish, as it’s the only wall you usually see and touch.
Calculating the Wall Line Count
It’s highly recommended to set a Wall Thickness that is a multiple of your nozzle diameter. If you’re using a standard 0.4mm nozzle, you’ll want to set a Wall Thickness of 1.2mm, as it corresponds to exactly 3 Wall Lines. If you set a Wall Thickness of 1mm, it will correspond to 2.5 Wall Lines, resulting in inconsistent print quality.
If you want to 3D print a model with 2mm walls, you could either use a 0.4mm nozzle and print five walls or use a 1mm nozzle and print just two walls.
How to get the perfect wall thickness
Finding the perfect Wall Thickness for your model depends entirely on the mechanical properties and surface finish you want to get. Before you slice your 3D model, you need to understand the part’s purpose and desired functionality.
Mechanical properties
If you need a strong part, increase the Wall Thickness. It’s as easy as that.
All parts should be printed with a 0.8mm wall thickness or at least twice the nozzle diameter. The reason behind this number is that parts that are printed with a single wall can deform, affecting part strength and dimensional accuracy.
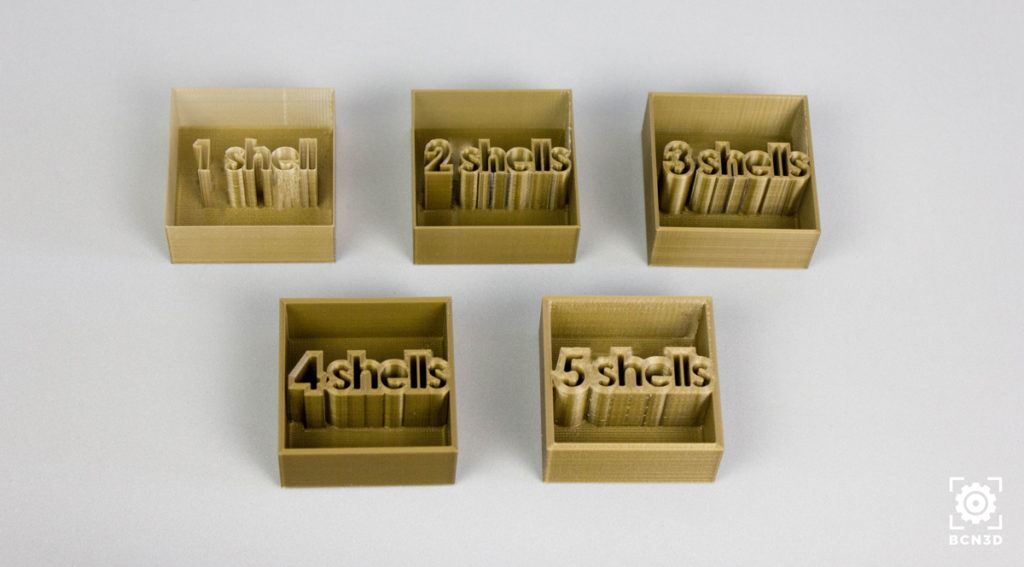
If you want to increase part strength, it’s recommended to use a Wall Thickness of at least 1.6mm (4 walls with 0.4mm nozzle).
Surface finish
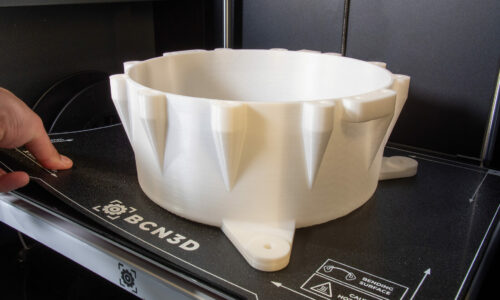
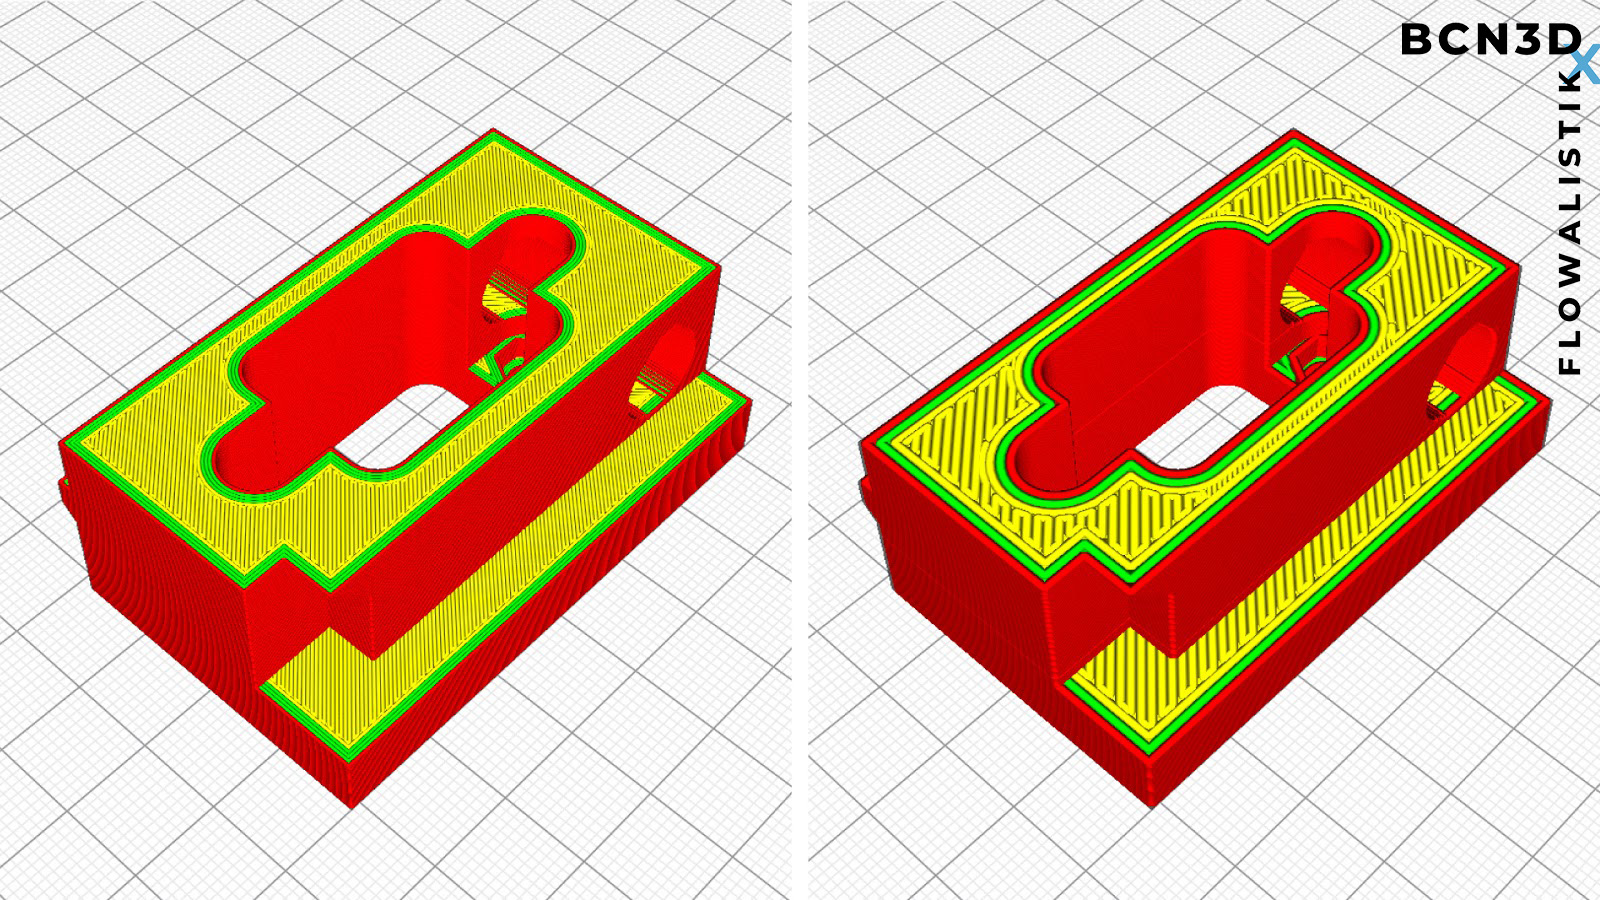
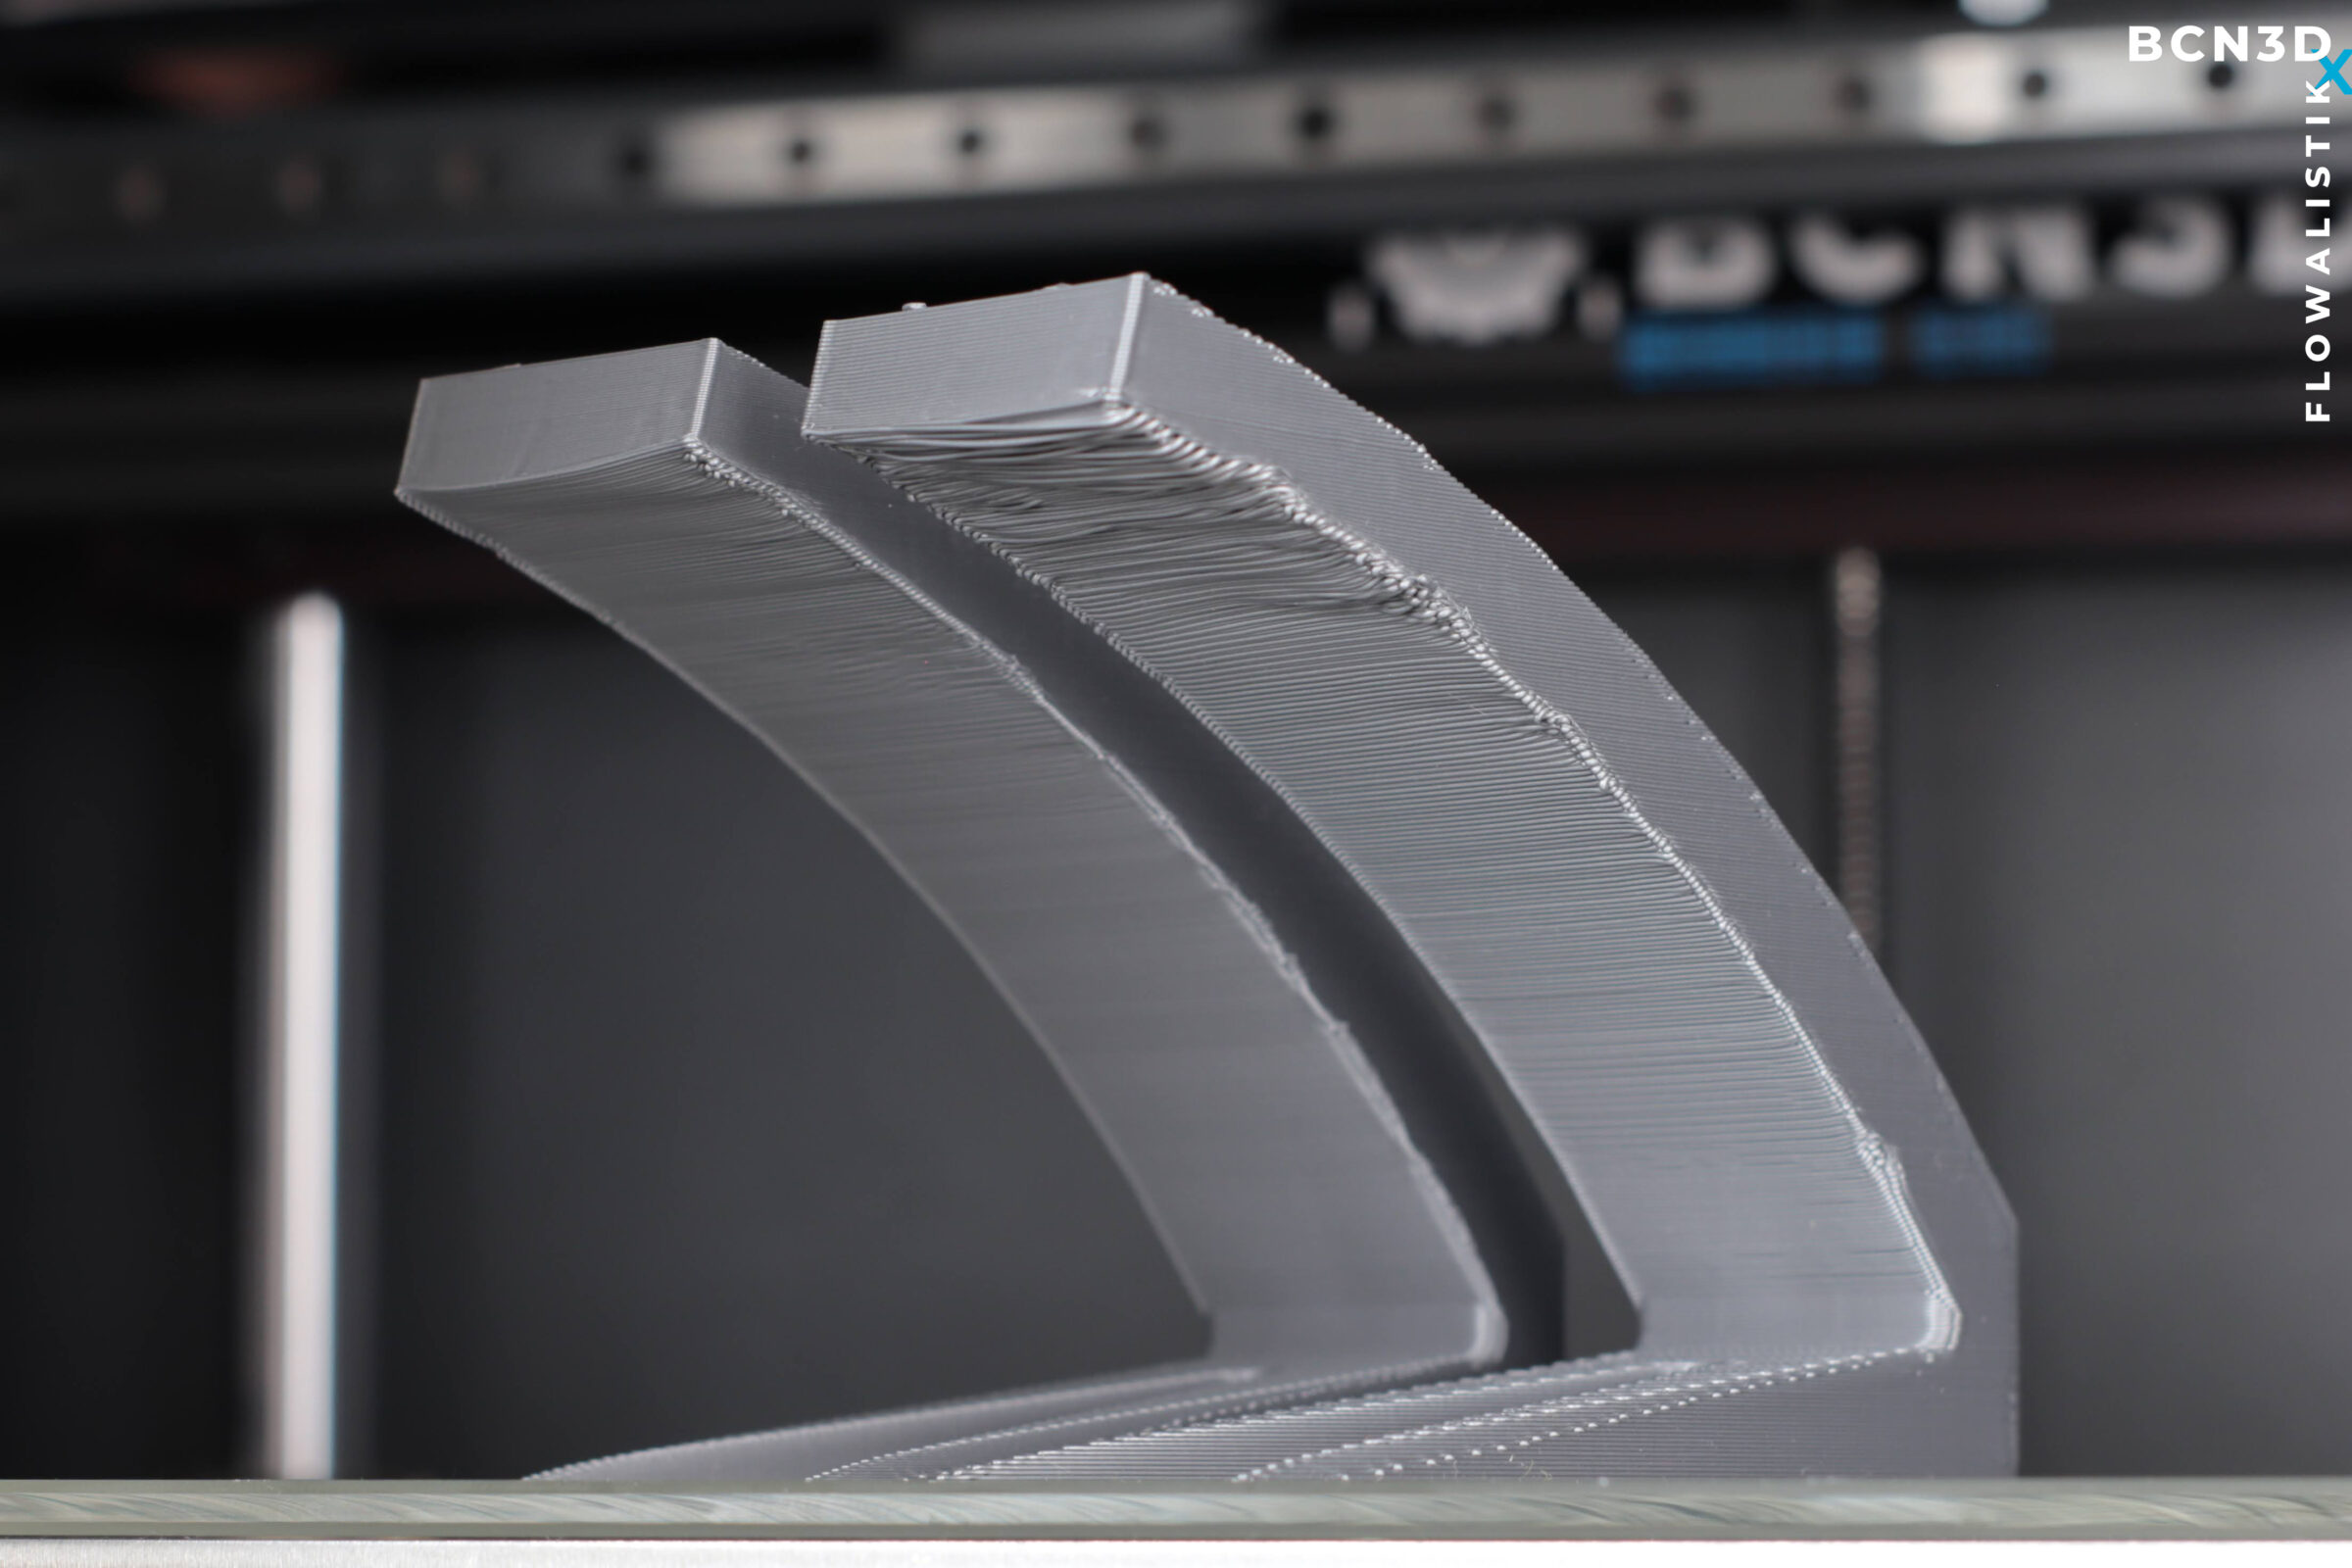
An increased Wall Thickness has a positive impact on overhangs and post-processing.
Models that include overhangs tend to have a low surface quality due to the small overlap between layers. When you increase the Wall Thickness of a model with overhangs, you’re increasing the overlap between layers.
If you want to post-process or sand your 3D printed part, it’s recommended to increase the Wall Thickness, as sanding usually removes the outermost wall.
Slicing considerations
Recommended Wall Thickness settings
The default Wall Thickness value in BCN3D Cura is 1.2mm, which corresponds to 3 wall lines when using a standard 0.4mm nozzle.
Using three wall lines offers a good part strength without increasing print time and using too much material.
A thinner 0.8mm Wall Thickness can be used for prototypes where dimensional accuracy isn’t essential, and 2mm Wall Thickness should be used for parts that require a higher strength.
Recommended Top/Bottom Thickness
As it happens with the Wall Thickness, the recommended Top/Bottom Thickness is around 1mm-1.5mm to guarantee similar print results.
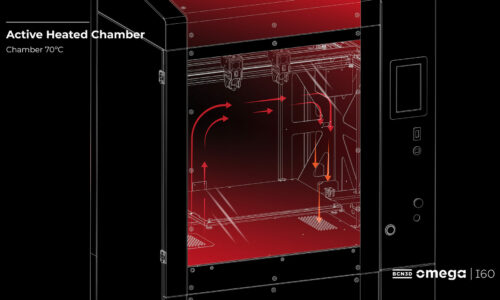
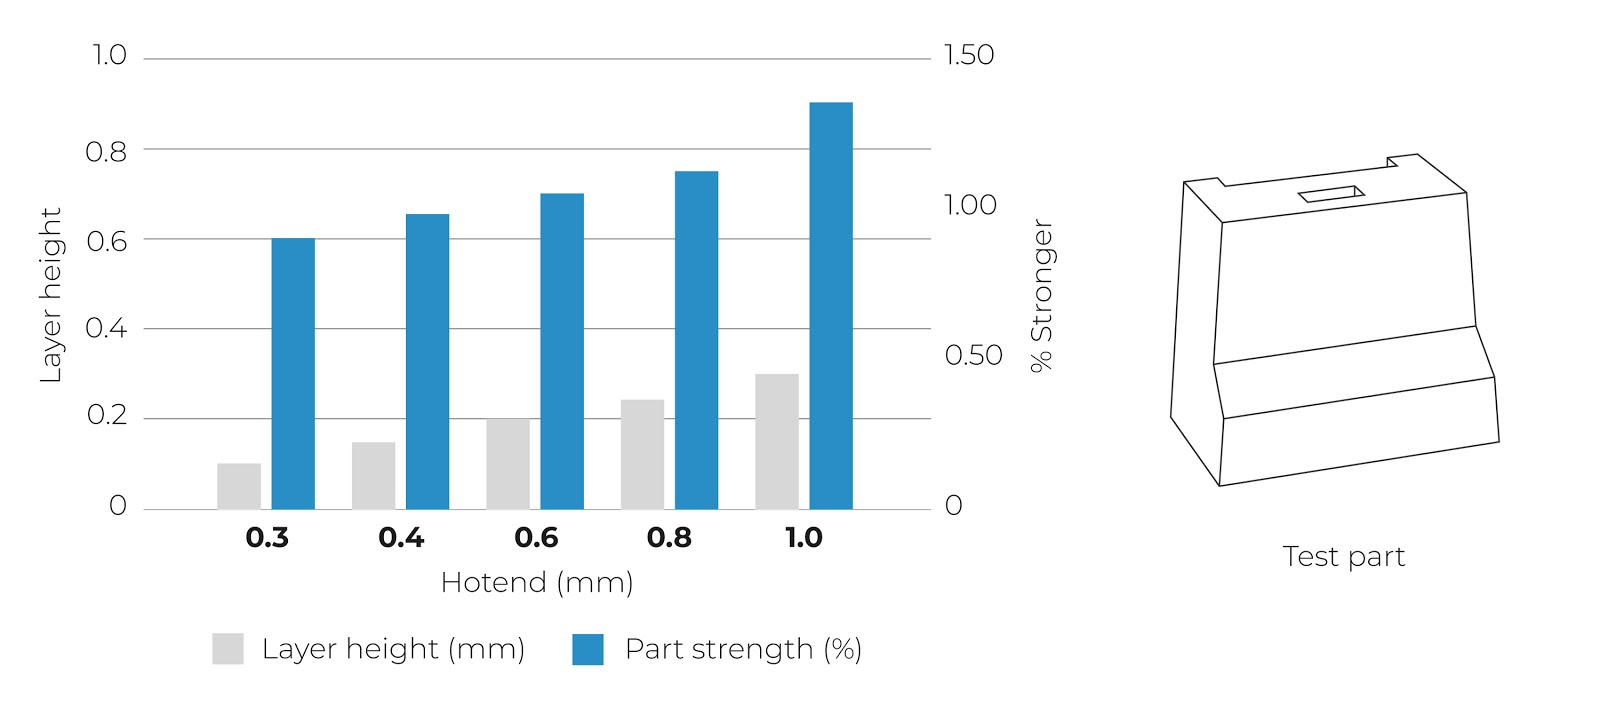
Wall Thickness and Hotend Family
Different hotends are available for the Epsilon and Sigma product families. Each hotend has a different nozzle diameter, from 0.4mm up to 1mm. The use of larger nozzle sizes allows you to increase the part strength while you reduce the print time.
Therefore, considering the wall thickness of your printed part should always be an essential step in your printing process. Be sure to evaluate the mechanical properties and surface finish you require, and use the corresponding nozzle. And, of course, read our white paper for a full explanation, or download our all-in-one ebook featuring all 6 slicing guides below.