"/>
"/> "/>
"/>Discover the full walkthrough of the 3D printing workflow
This white paper will help you better understand all the stages of the 3D printing workflow, from idea to fabrication, so that you can plan ahead and optimize your time and resources.
![]()
The key stages explored in this white paper are:
- Modelling or obtaining a pre-made model
- Generating an STL file
- Slicing
- Printing
- Post-Processing
Modelling for 3D printing
The first step in any additive manufacturing process is obtaining or producing the 3D model that is to be printed.
Modelling is the process of representing a 3D object in a mathematical way, and can be done manually, using a CAD software or by 3D scanning objects to represent them digitally.
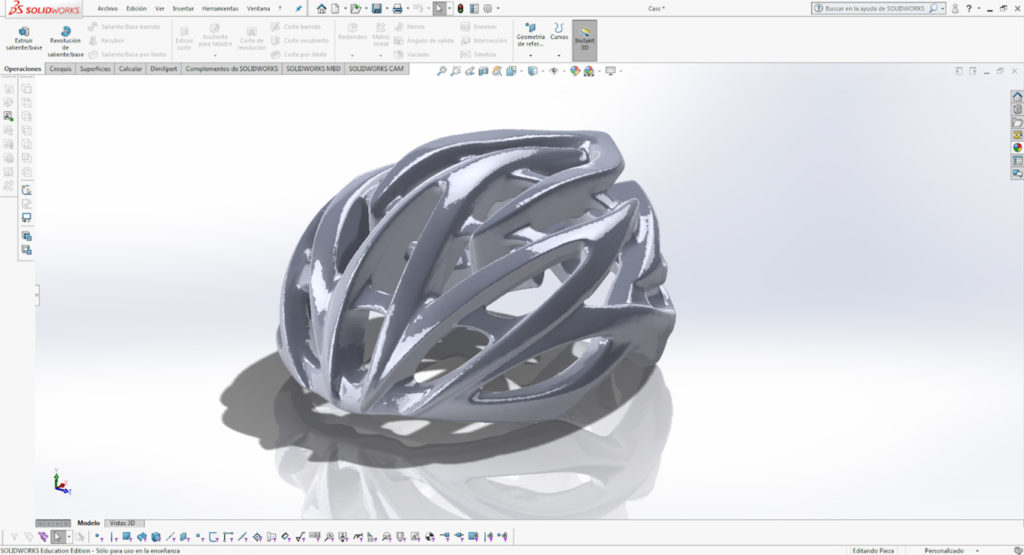
Another option would be using a pre-made 3D model, which can be obtained from 3D-model marketplaces such as Thingiverse, CGTrader, Sketchfab, GrabCAD, Clara.io, Myminifactory, and Cultsd3D.
Generating an STL file for 3D printing
Once the CAD model is ready, a vital stage during the 3D printing workflow is converting it into an STL (stereolithography) file. STL uses triangles (polygons) to describe the surfaces of an object, without any representation of colour, texture, or other common CAD model attributes.
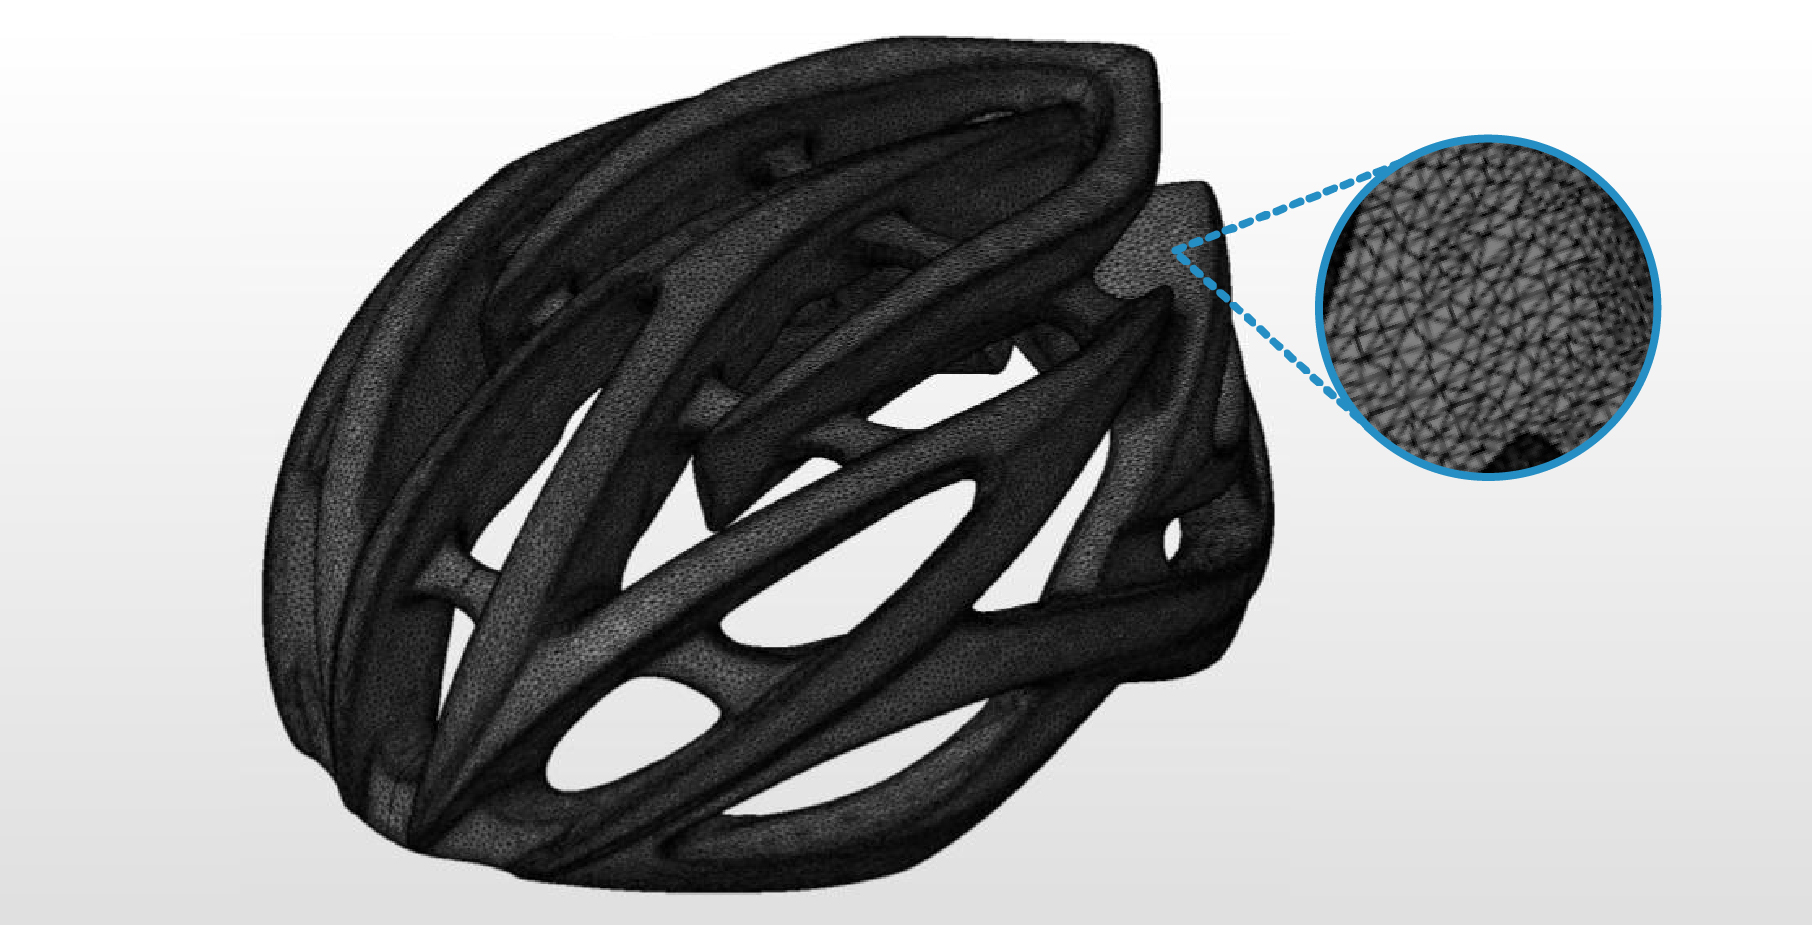
This process creates a mesh of triangles, and the resolution can be controlled by changing the density of the mesh:
- If the mesh density is too low, the model will show triangles on its surface.
- If the mesh density is too high, it will increase the size of the file and the printer will not be able to print the fine details.

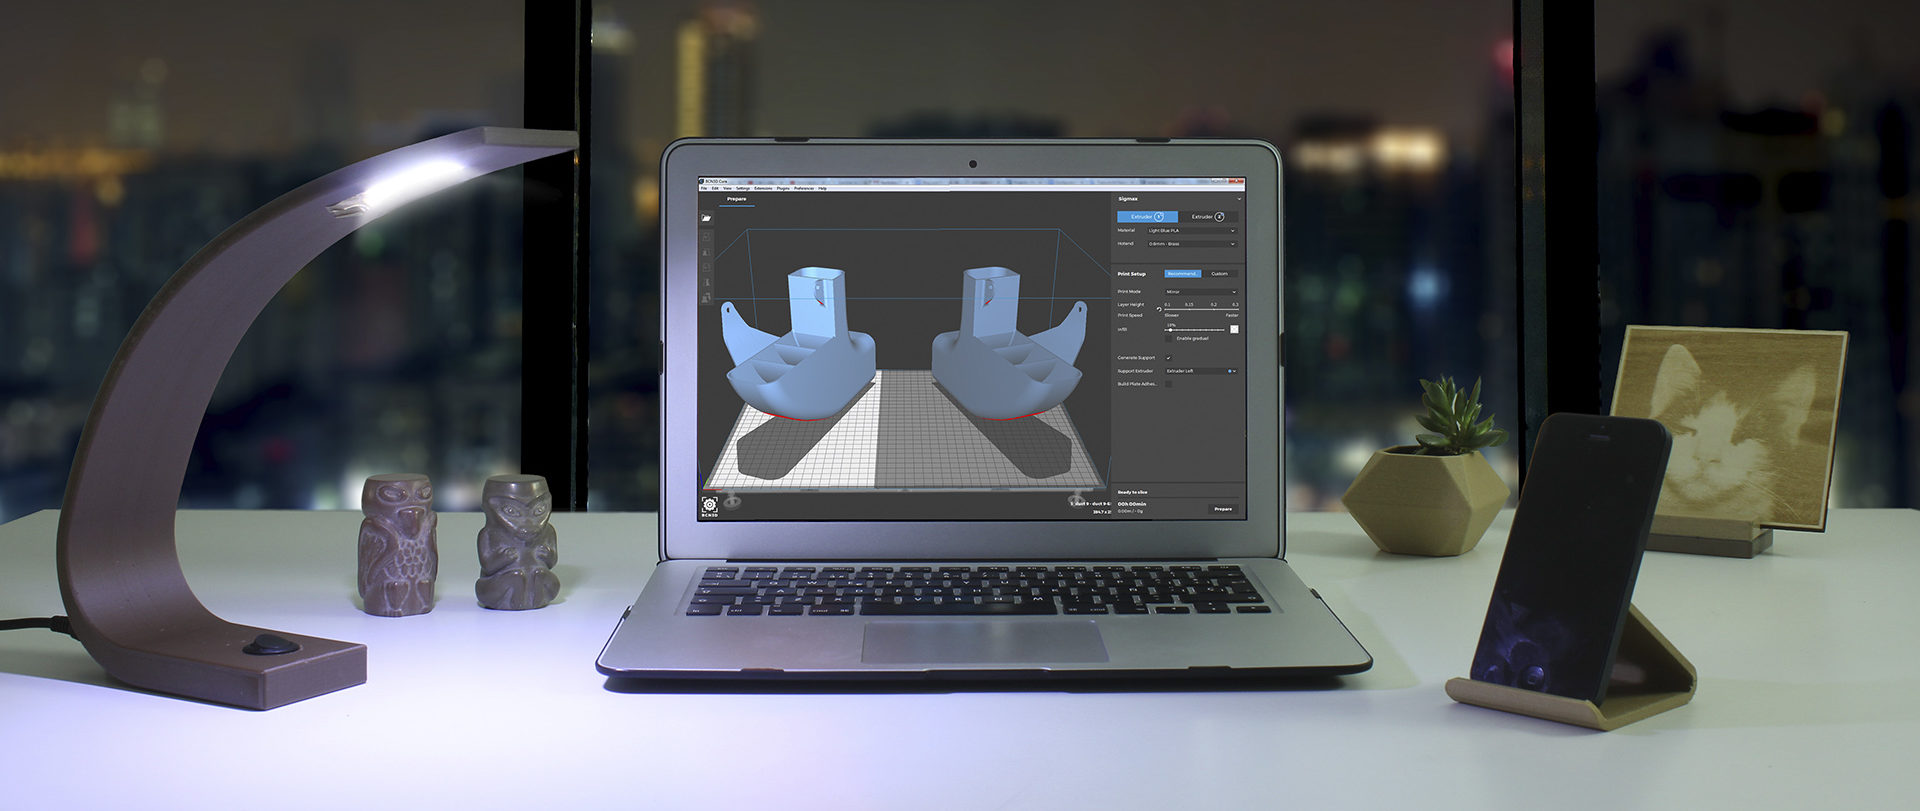
Slicing for 3D printing
Once the STL file has been correctly generated, it needs to be loaded into a slicer software such as BCN3D Cura.
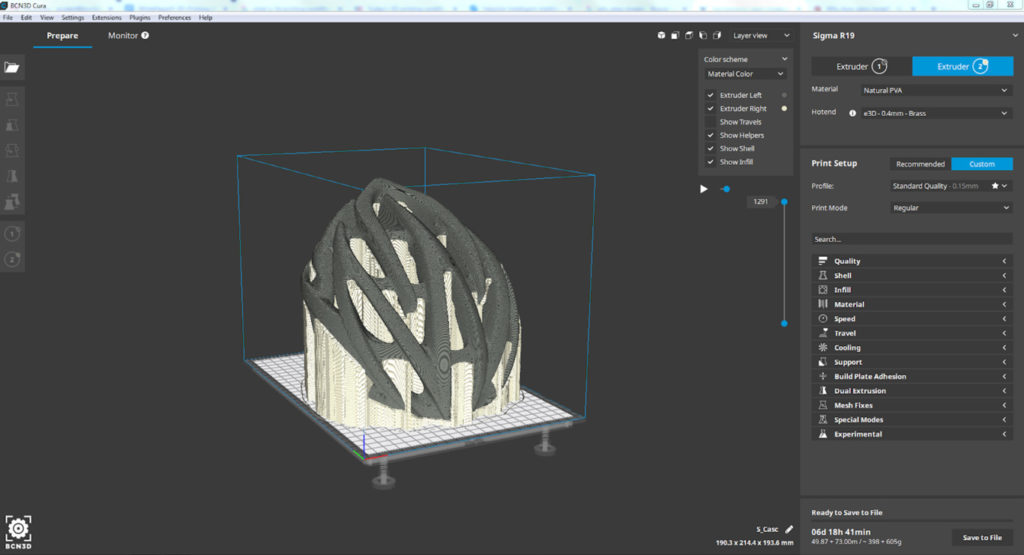
The slicing software is used in the additive manufacturing processes to convert a 3D model into specific instructions for the printer, by turning the STL file into a G-code with printer commands:

The slicer divides the object into horizontal layers, and each layer describes the necessary movements to extrude the plastic.
The software includes coordinates of the extruder, and other information regarding the temperature, speed, etc. If these instructions are precise and have the right parameters, the prints will be top quality.
The main parameters for modification are:
- Nozzle size
- Filament
- Printing profile
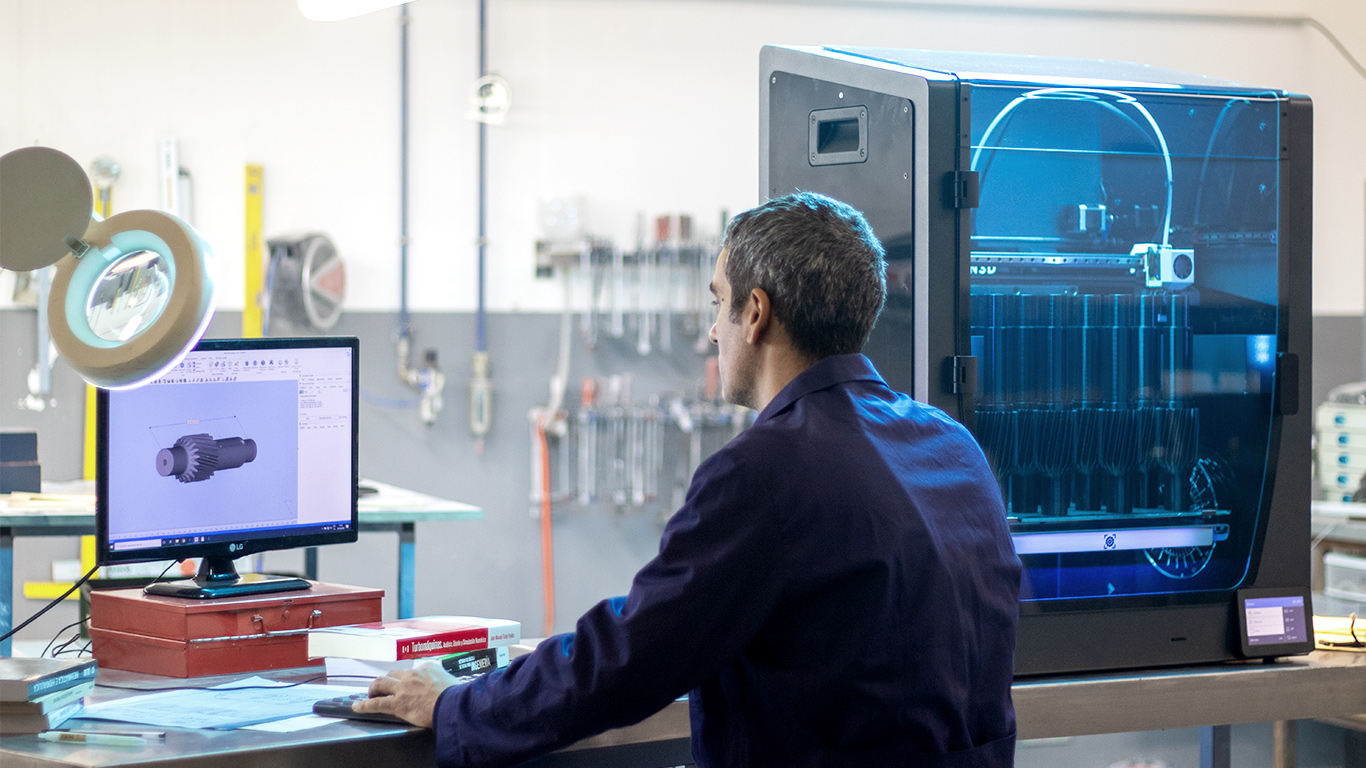
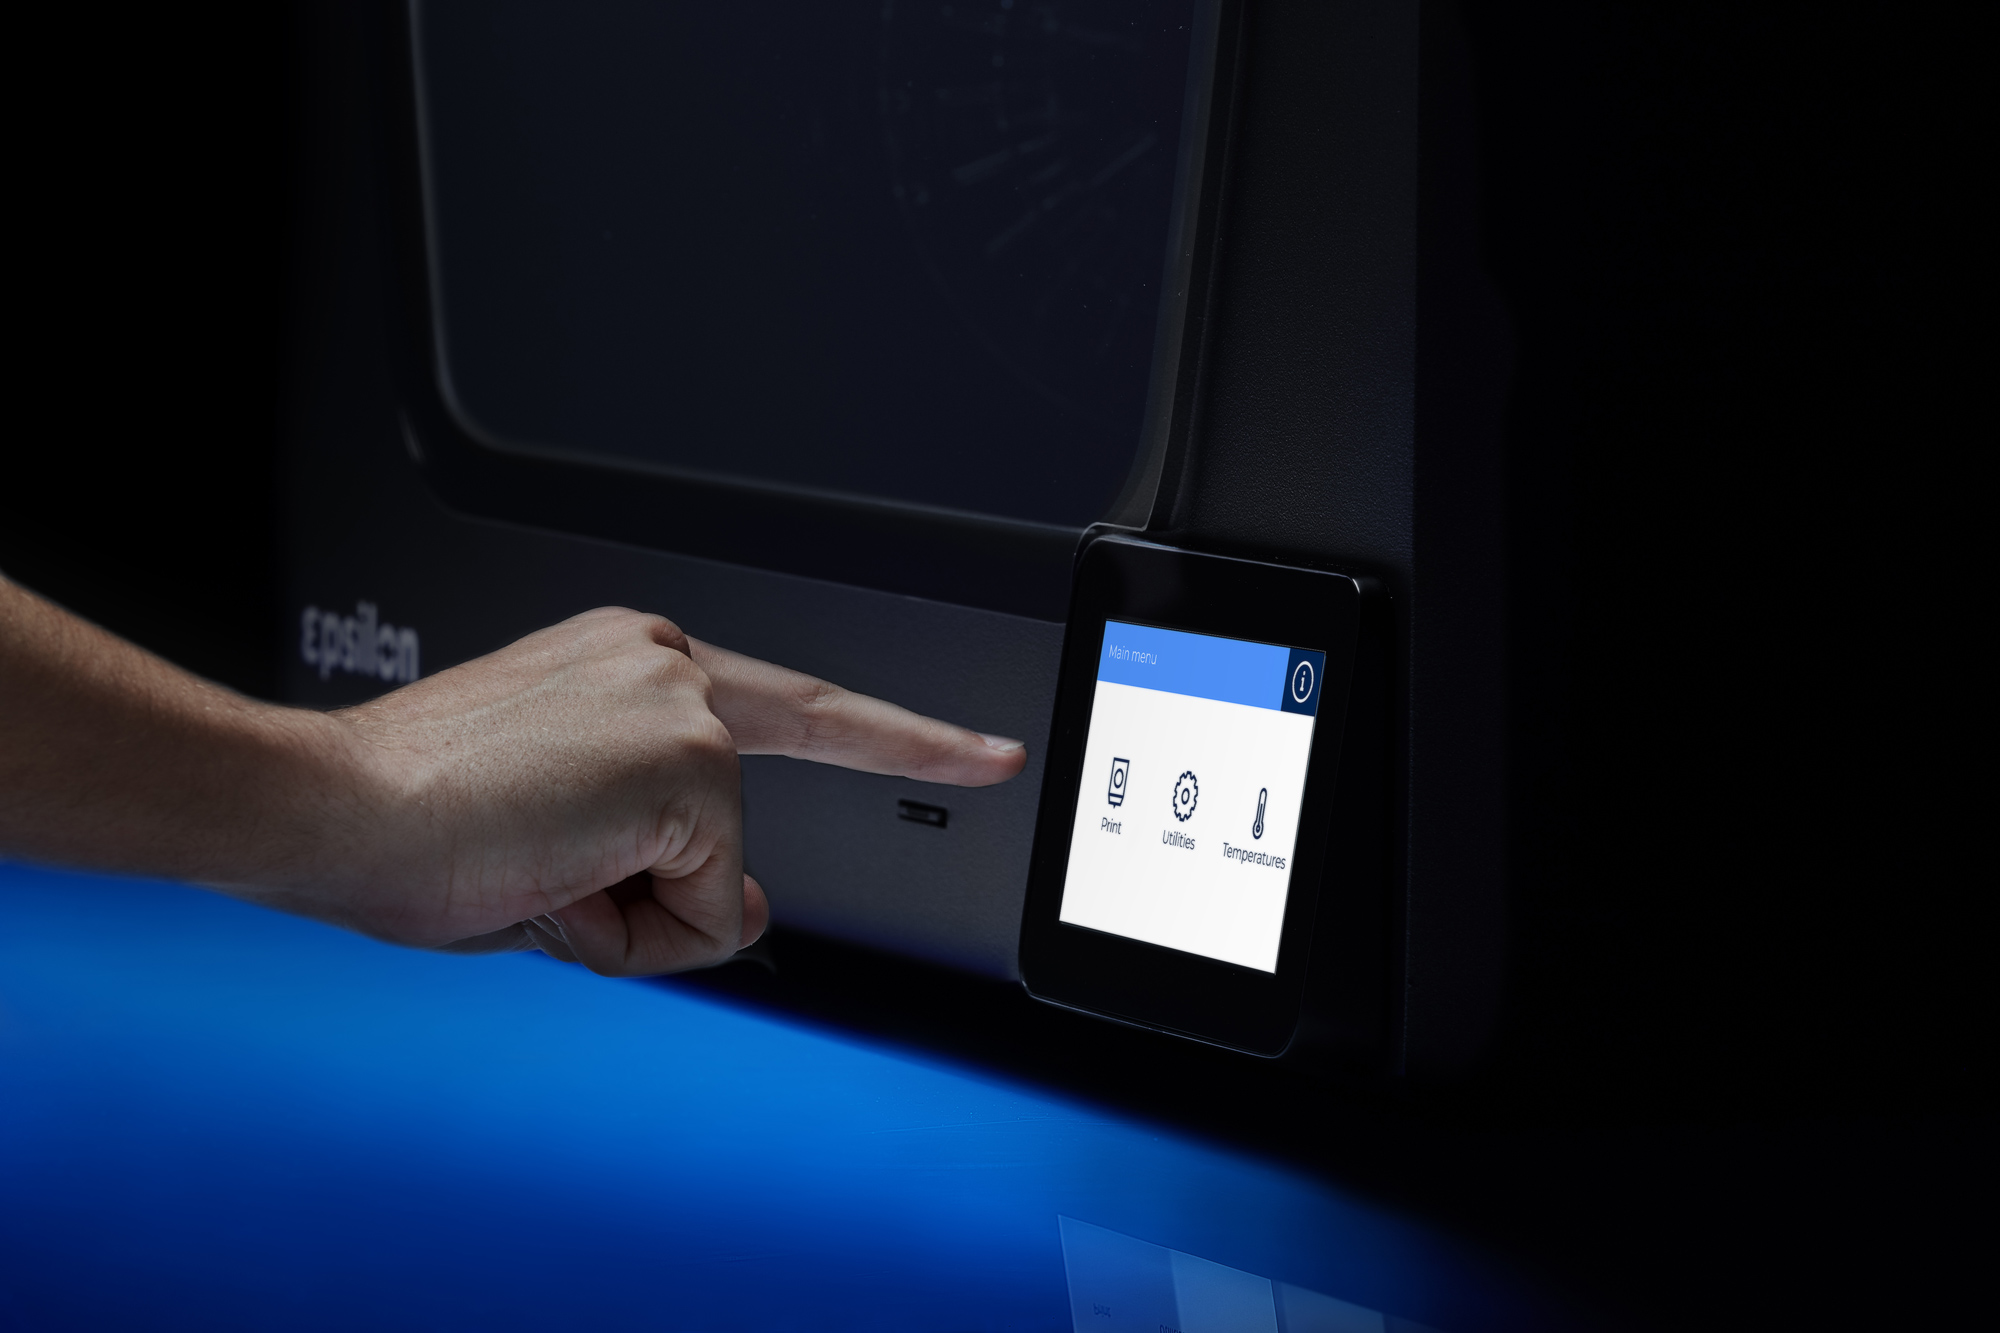
3D Printing
FFF technology consists of building objects by depositing melted material layer-by-layer, using thermoplastic polymers as raw material.
In this stage, correct maintenance of the printer and accurate calibration are vital to produce high-resolution parts.
Post-processing
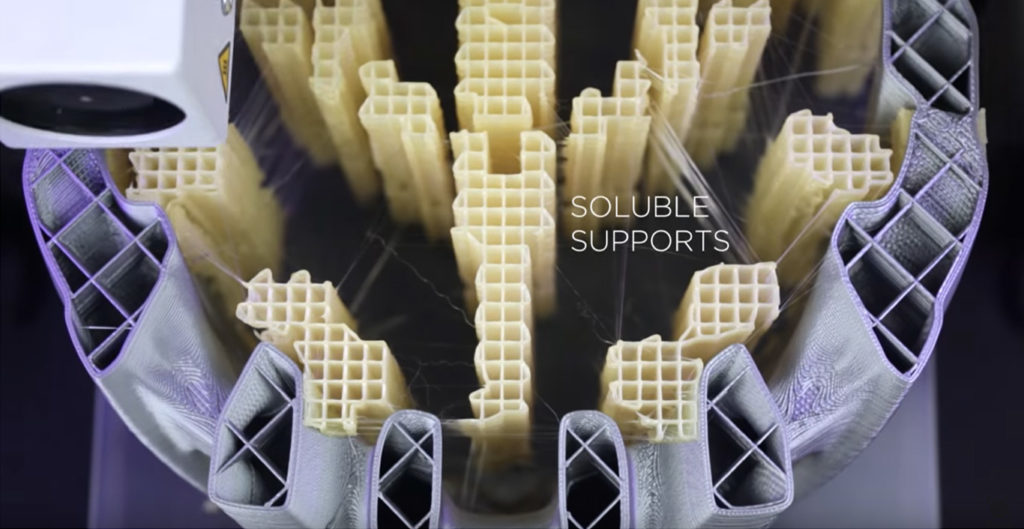
As opposed to other additive manufacturing technologies, in the case of FFF parts, it is not always mandatory to post-process.
The main reasons for post-processing are removing supports, hiding visible layer lines, or mitigating the anisotropic behaviour.
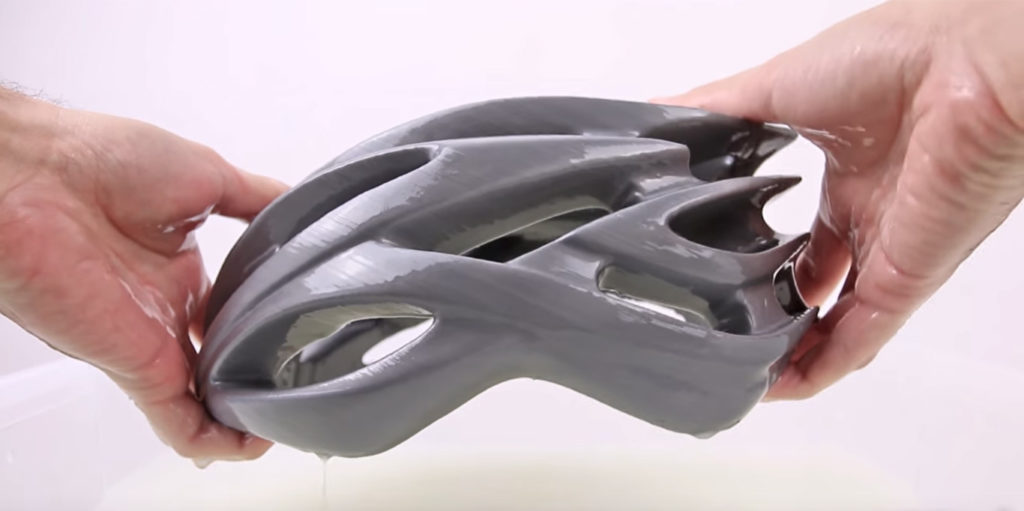
After support removal, there are a number of different post-processing techniques that can be applied to the part depending on the material. For example, sanding, cold welding and gap filling.
The final test
The final step is testing the part. Depending on the final application, different characteristics can be validated through specific tests.
Implementing this workflow will help you to introduce FFF 3D printing in your business’s day-to-day processes in the simplest way to achieve the best possible results.