"/>
"/> "/>
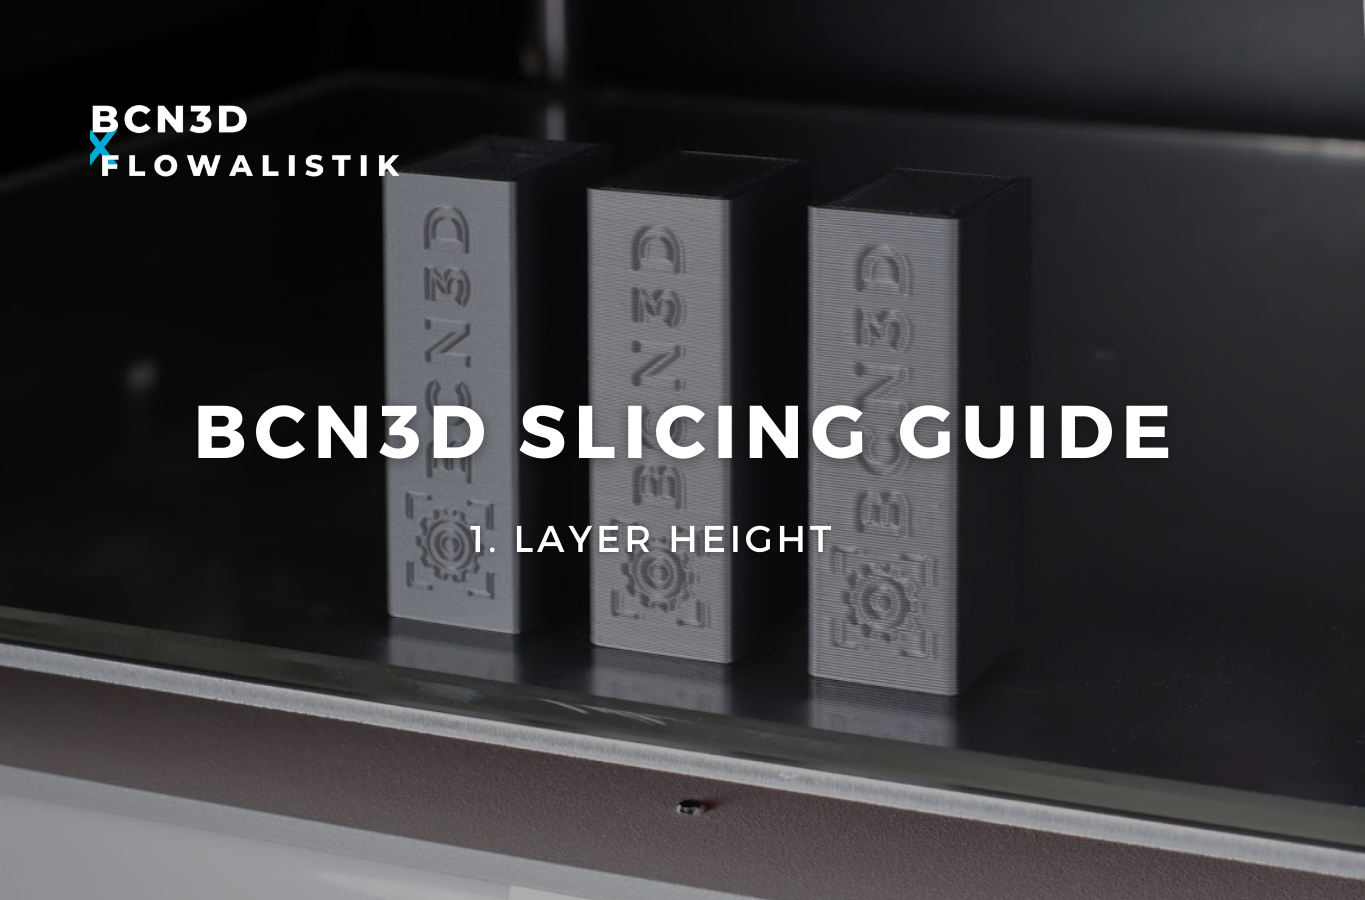
"/>How to set up the 3D print layer height in a BCN3D printer
The 3D print layer height is one of the most important parameters when we talk about setting up a 3D printed model. If you want to achieve the best quality in the least amount of time possible it is very useful for you to understand how it works.
In this article focused on the 3D print layer height setting, we are going to review:
- What is the layer height
- How does the hotend size affect the layer height
- How to change the quality of a print by tweaking the layer height
- How to change the printing time by tweaking the layer height
If you are starting in the 3D printing world, one of the first things that you will notice is that printing any part needs a process called slicing so that your 3D printer knows what it has to do. In the slicing process, where the software transforms your model into multiple layers through a G&M code, you can choose and play with a different variety of settings and parameters so that the features of your printed model match what you are looking for.
You can play with the speed of your print, the temperatures, the strength, the infill, the printing time, and a lot of other parameters that can be changed so that your printed part fits your needs. But when it comes to quality and printing time, the 3D print layer height is the most important one.
What is the 3D printing layer height?
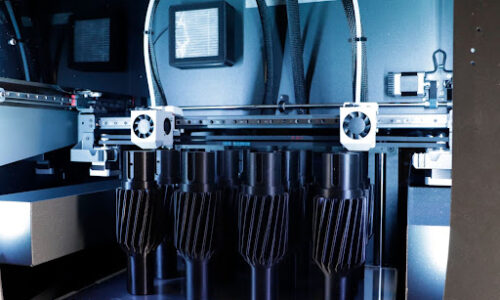
To understand what the layer height is, we have to start by explaining how 3D printing works. In FFF 3D printing, a spool of filament, in most cases a plastic filament, is pushed through a hotend so that this one can melt the plastic filament at a temperature between 190º and 270º.
The melted filament is deposited on the printing surface with the shape of the first layer of the model, previously divided into those layers by the slicer. Each layer is cooled down thanks to a fan located in the toolhead so that the next layer can be deposited firmly above the previous one. Layer by layer the model is created until you end up with the whole printed part.
The layer height is the actual height of each layer that your 3D printer hotend is melting and depositing on the printing surface. You can select this height on your slicer and change it depending on what your needs are.

How does the hotend size affect the layer height?
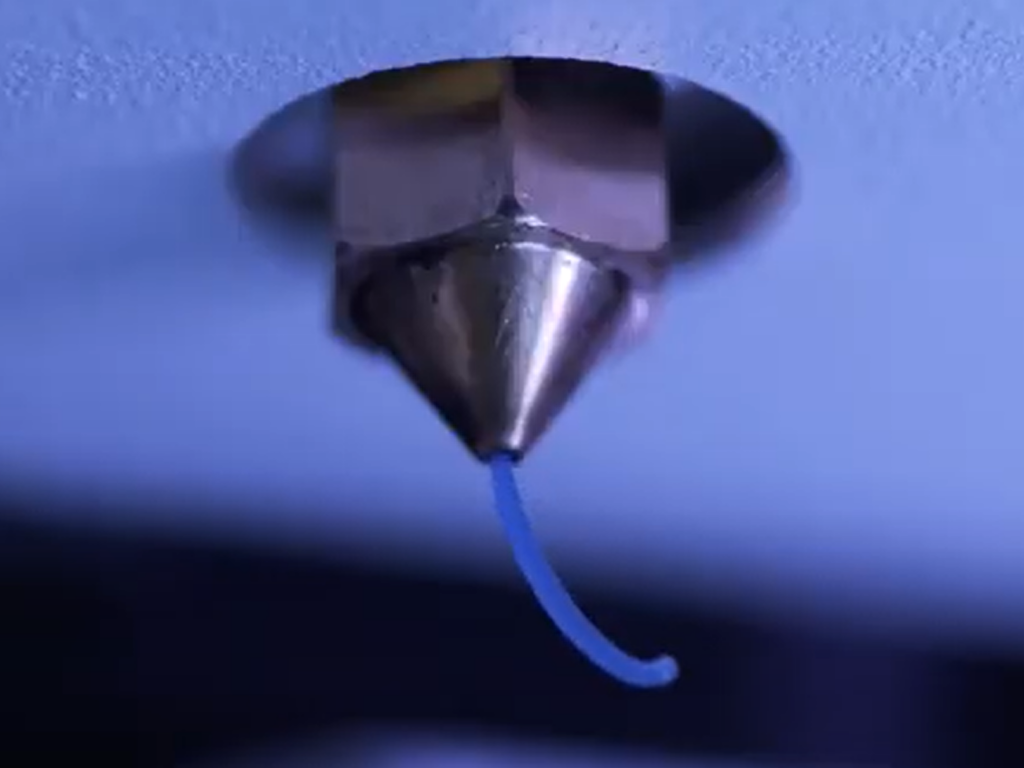
The hotend is one of the most crucial parts in the entire 3D printing process. It is in charge of melting the filament and depositing it on the printing surface so that the actual printed part can be printed. Every hotend is assembled of 3 different parts: the heak sink where the filament enters the hotend and waits for being melted; the thermal block where the filament is actually melted; the nozzle where the material comes out of the hotend and is deposited on the printing surface.
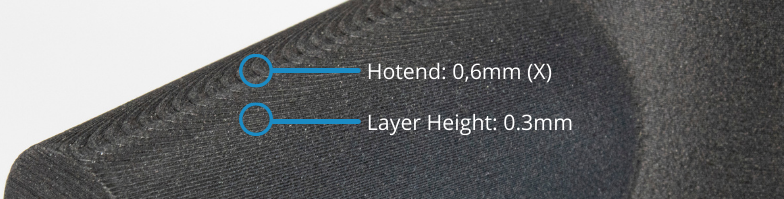
It is in this final part, in the nozzle, where things change between one hotend and another. Every hotend has its own nozzle size. The nozzle size is the size of the diameter of the nozzle from where the material comes out of it. There are different sizes, the most standard ones go from 0.4 millimeters to 1 millimeter and this is directly related to the quantity of material that can come through the nozzle.
As the nozzle size is what determines the flow of material and how much of it can be deposited in the printing surface, as the bigger the nozzle size, the more material will be able to go through it, and the 3D print layer height can be increased. If the nozzle size is too small, the layer height would have to be decreased because less material can be deposited.
How to change the quality of a print by tweaking the 3D print layer height?
Now that we know what the 3D print layer height is and how this parameter works, it’s time to see its incidence in the quality of your printed parts.
As we said before, the layer height is the height of each layer of your printed part. It’s easy to obtain the number of total layers on your model; divide the total height of the model by the height of each layer (the layer height). So, the higher the layer height, the less layers we will end up having on our model, but they will be bigger and in consequence more visible. That means that the quality of our printed part will be reduced. So we can say that when the layer height is increased, the quality of our printed part is reduced.
It also works the other way around. If the layer height is decreased, The number of layers will increase, and as the layers are smaller, they will be less visible on our printed part. That’s why when the layer height is reduced, the quality of our printed parts is better.
Remember that the layer height can not be modified as we want. It is always recommended to have a maximum layer height of half the nozzle size so that you don’t have any problem trying to deposit more material than is actually possible. The minimum layer height is always recommended to be a quarter of the nozzle size; less than that and it would be difficult to control.
How to change the printing time by tweaking the layer height
We just talked about how to increase the quality by reducing the layer height, but what happens when you do that regarding the printing time? As when you reduce the layer height the number of layers is increased, you will be printing more layers and, for instance, the printing time will also increase.
When you increase the layer height, it works the opposite way; less layers are being printed so the printing time is reduced.
Conclusions
The 3D print layer height is one of the most important parameters while 3D printing. It depends directly on the nozzle size and lets you play with the printing time and the quality of the printed part. Although a higher layer height entails a lesser quality, the printing time does get reduced. If you want printing of a higher quality, you need to reduce the layer height but bear in mind this will be a longer process. For more information, take a look at our knowledge base tips and tricks on this topic or download our free slicing guide.