"/>
"/> "/>
"/>3D Print Not Sticking to Bed: 6 Easy Solutions
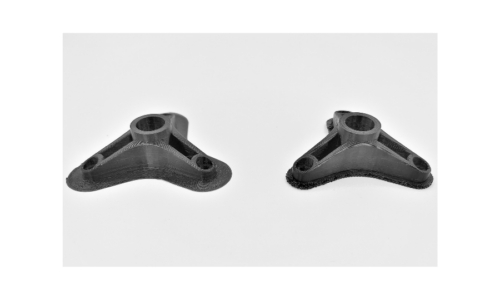
3D print not sticking to bed? It happens. You’ve planned, calibrated, and tested, but your 3D print just won’t stay put. Don’t worry; we’ve compiled the 6 easy solutions to the problem that will most certainly get your parts back to printed perfection.
A good first layer adhesion is essential because it sets the foundation for the rest of your print. Unfortunately, first layer bed adhesion is a common 3D printing issue, especially with ABS and PLA. Luckily, there are a few quick solutions you can use to stop this from happening.
In this video and article, we’ll review 6 ways to fix a 3D print not sticking to the bed.
1. Bed Leveling
If your printer has an adjustable bed and you’re having issues with sticking, check to make sure your bed level is flat.
An uneven bed could mean that one side is closer to the nozzle while the other side is too far, creating a difficult print environment. Additionally, if your bed is uneven it can result in your print warping or breaking.
The process for leveling your bed depends on your printer. For example, BCN3D printers are equipped with automatic bed leveling, but you also have the option to manually level your bed. Alternatively, if your 3D printer does not have auto-leveling, you will need to level it yourself.
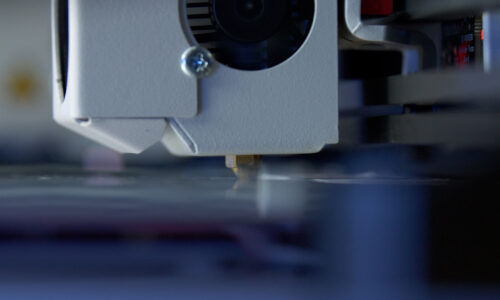
2. Nozzle to Bed Distance
There is a certain sweet spot between the bed and the nozzle. It’s like Goldilocks’ porridge – not too close, and not too far, but just right.
- If your 3D print is not sticking to the bed, check the distance between the bedplate and the nozzle.
- If the nozzle is too close to the bed, then the filament will not be able to come out, or the extruder could damage or drag the previously printed layer.
- On the other hand, if the nozzle is too far the filament will not properly place on the bed and will not be able to adhere.
You will have to experiment to see what works best for the filament you are printing. Ideally, the nozzle should be close enough to the bed so that the filament is slightly squished onto the bed’s surface. This allows the filament to get a bit of grip onto the bed.
Learn all you need to know about fiber-filled materials for FFF 3D printing!
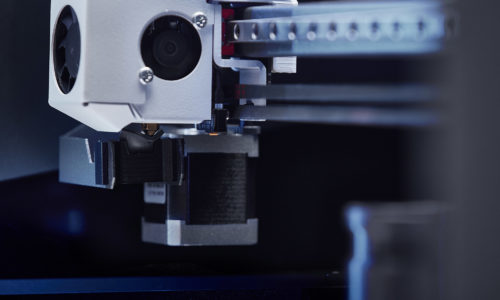
3. Nozzle Speed
Nozzle speed can also play an important role in your 3D print not sticking to bed. Similar to nozzle distance, you must find a certain sweet spot for the nozzle speed, especially when printing the first few layers.
Slowing down the nozzle’s speed gives the plastic more time to bond to the bed and get a better grip. If you print too quickly, the filament may not stick to the bed because the plastic cools off too quickly. After you have laid down your first few layers and feel confident in your print’s bed adhesion, you can resume the nozzle to a normal speed.
4. Bed Temperature
The final thing you can look at is the temperature of your bed. If you are using a heated bed on your prints, double-check that you are using the proper temperature for your specific filament. Different 3D printing materials require different bed temperatures.
It may also help to slightly increase the bed’s temperature by just a few degrees to help the first layer stick. After the print has established a good grip, you can then lower the temperature to maintain a normal heat.
5. Adhesives
If you’ve double and triple-checked all of your bed and nozzle settings and you still have bed adhesion problems, then it’s time to bring in some backup tools so that the print keeps sticking to bed. If you still cannot get your 3D print to stick to the bed, use an adhesive right on the bed where the filament will land.
There are a few different options you can consider, including:
- Glue sticks,
- Painters tape,
- Hairspray,
- Or 3D printing specific adhesives like Magigoo.
Using an adhesive specifically designed for 3D printing ensures that you will be able to properly wash off the adhesive from your print once it is finished.
This common practice is both quick and cost-effective and can save you a lot of headaches. You only have to apply a thin layer to the bed. Different filaments will adhere to different adhesives, so experiment to see what works best for you.
6. Brims and Rafts
If you don’t want to use adhesives but the 3D print not sticking to bed remains a problem, then printing a brim or raft might be your best option.
- A brim is a layer of filament that surrounds the print and attaches to the first layer of your printed object. It is similar to a hat’s brim. It does not sit under the part, but just simply adds an extra layer around it.

- A raft, on the other hand, is a thin layer of filament that is laid down before the rest of your print. This creates a flat filament base for the rest of your print to build upon. Both rafts and brims are removed from the final object once it is done printing.
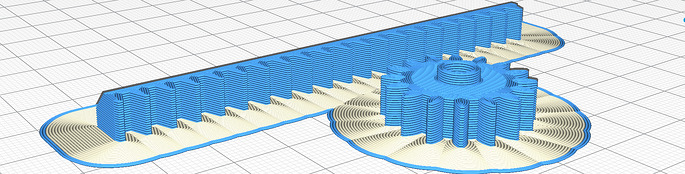
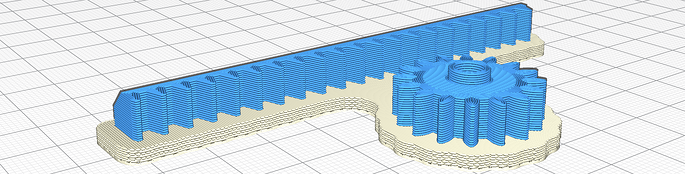
These are especially useful when creating very small prints or prints that need more support in their first few layers. For instance, both will help to anchor the print and allow it to adhere better.
3D print not sticking to bed: Final Thoughts
Non-optimal first layer adhesion is a common problem in 3D printing, especially with PLA and ABS. But, luckily it has a few different solutions available. If you are really struggling with 3D print not sticking to bed, don’t be afraid to try a combination of a few of them to get your print to stick.